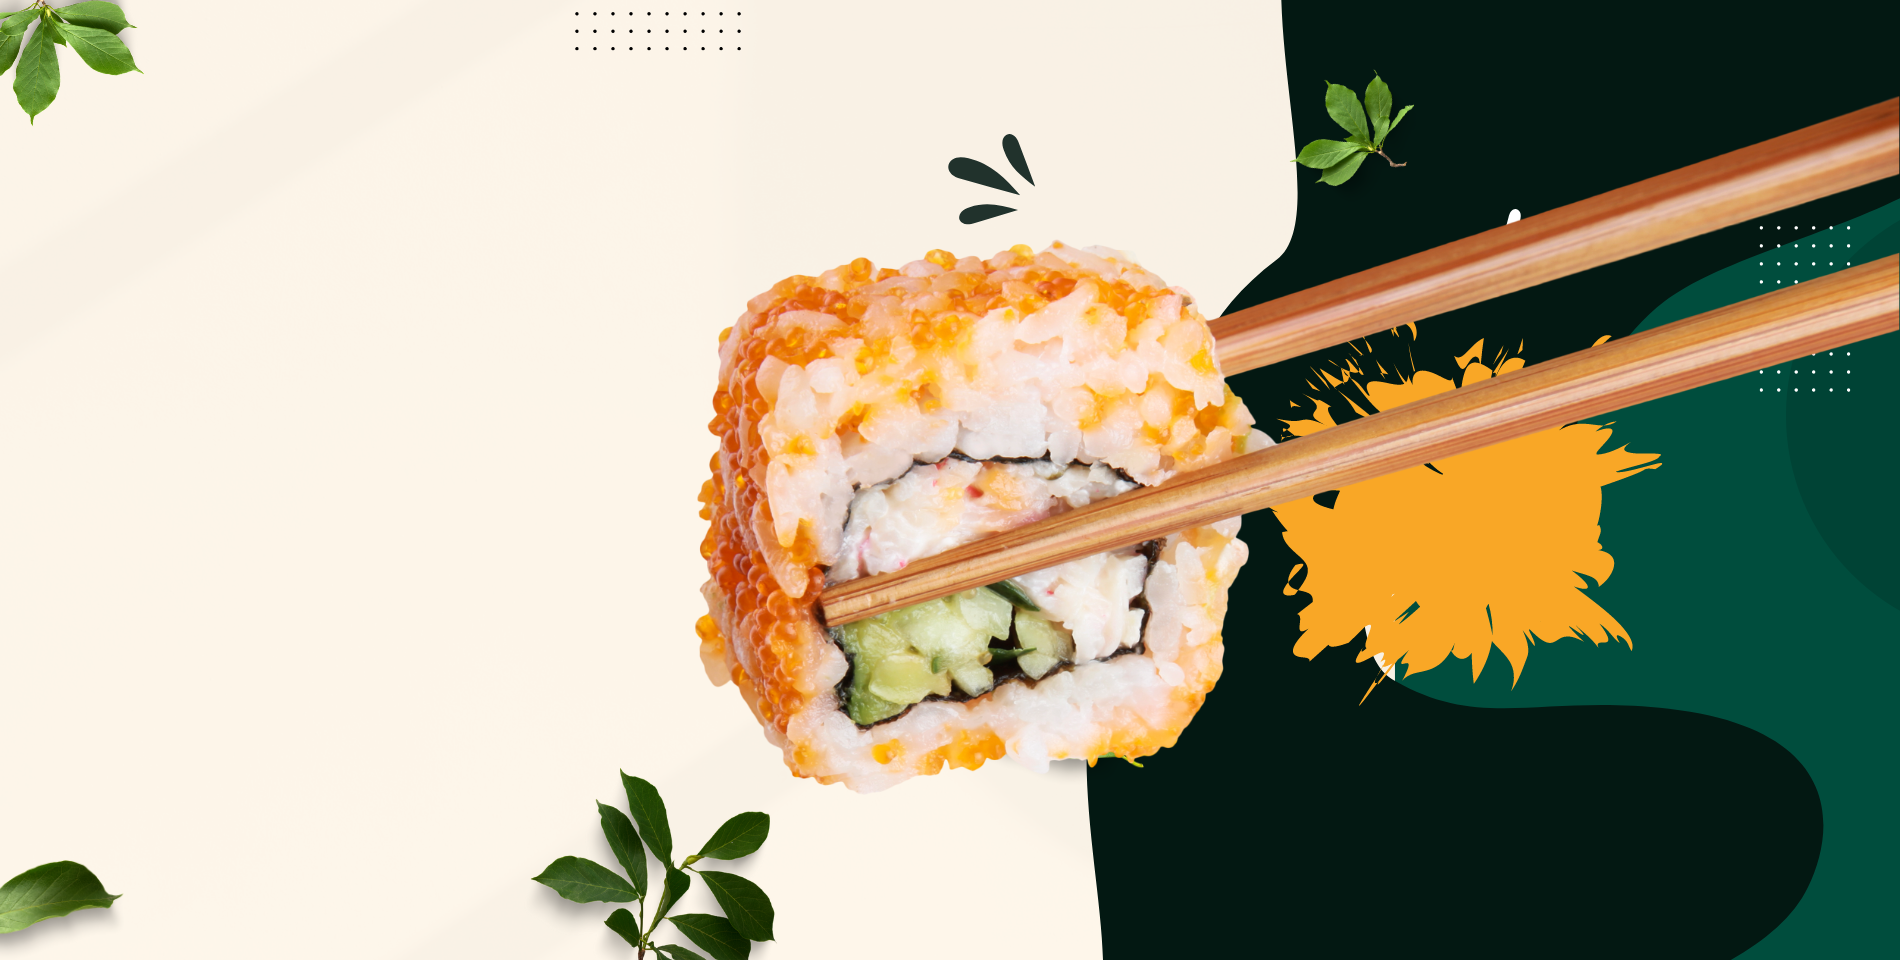
Hey there, fellow sushi enthusiasts! 🍣 Ever found yourself sitting at a sushi bar, marveling at the chef’s skills, and thinking, “I wish I could make sushi at home?” You’re not alone! The good news is, making sushi is not as complicated as it looks. In fact, it’s an incredibly fun and rewarding experience. So, if you’re ready to learn how to make sushi like a pro, you’ve come to the right place!
The Basics: What You Need to Make Sushi
Ingredients for Making Sushi
- Sushi-grade rice
- Nori sheets (seaweed)
- Fresh fish (think salmon, tuna, etc.)
- Veggies (like cucumber and avocado)
- Soy sauce
- Wasabi and pickled ginger
Tools for Making Sushi
- Bamboo rolling mat
- Ultra-sharp knife
- Rice cooker or pot
- Mixing bowl
How to Make Sushi Rice: The Foundation of Your Roll
Ah, sushi rice—the unsung hero of every sushi roll. You might think it’s all about the fish or the fillings, but let me tell you, the rice is where the magic really happens. It’s the glue that holds your sushi together and the canvas that elevates each ingredient. So, how do you make sushi rice that’s worthy of being the foundation of your roll? Let’s dive in!
What Makes Sushi Rice Different?
First things first, sushi rice isn’t your everyday rice. It’s a short-grain or medium-grain variety that becomes sticky when cooked, which is essential for sushi. The stickiness allows the rice to hold its shape when rolled and keeps the fillings securely in place.
Ingredients for Sushi Rice
Step-by-Step Guide on How to Make Sushi Rice
1. Rinse the Rice
Before you even think about cooking, rinse the rice in cold water. Place the rice in a bowl and cover it with water. Gently stir and drain. Repeat this process until the water runs clear. This removes excess starch and prevents the rice from becoming too gummy.
2. Cook the Rice
You can use a rice cooker for convenience, but stovetop works just as well. Combine the rinsed rice and water in a pot. Bring it to a boil, then reduce the heat to low, cover, and simmer for about 20 minutes. The rice should be tender and all the water should be absorbed.
3. Season the Rice
While the rice is cooking, prepare the seasoning. In a small saucepan, combine rice vinegar, sugar, and salt. Heat the mixture over low heat just until the sugar dissolves. Do not let it boil.
4. Mix It Up
Once the rice is cooked, transfer it to a large wooden or glass mixing bowl. Don’t use metal as it can react with the vinegar. Slowly pour the seasoning over the rice while using a spatula to gently fold it in. You want to coat every grain without mashing the rice.
5. Cool It Down
This is crucial. The rice needs to be cooled down to room temperature before you start making sushi. You can use a fan to speed up the process or simply let it sit. The rice will continue to absorb the vinegar mix as it cools, enhancing its flavor.
6. Keep It Covered
If you’re not using the rice immediately, cover it with a damp cloth to keep it from drying out. But remember, sushi rice is best used within a few hours of cooking.
Preparing the Fillings: The Soul of Your Sushi
Alright, so you’ve mastered the art of making the perfect sushi rice. But what’s a canvas without its colors, right? That’s where the fillings come in—the soul of your sushi. Whether you’re a fan of classic tuna rolls or you’re looking to experiment with exotic flavors, the fillings are where you can really let your culinary creativity shine. So, let’s get into the nitty-gritty of preparing the fillings for your sushi rolls.
Types of Fillings
Fresh Fish
- Tuna: Rich and meaty, perfect for a classic sushi roll.
- Salmon: Soft and fatty, it melts in your mouth.
- Yellowtail: Light and delicate, great for a subtle flavor.
Vegetables
- Cucumber: Adds a refreshing crunch.
- Avocado: Creamy and rich, it balances out the flavors.
- Carrot: For a sweet and crunchy element.
Others
- Cream Cheese: For a fusion roll.
- Tempura Shrimp: For a crunchy, cooked option.
- Spicy Mayo: For that extra kick.
How to Prepare the Fillings
For Fresh Fish
- Quality Matters: Always use sushi-grade fish. This ensures it’s safe to eat raw.
- Slice It Right: Cut the fish against the grain into thin, long strips. The size should be manageable to fit into a roll.
For Vegetables
- Peel and Slice: For veggies like cucumber and carrot, peel the skin and slice them into thin, long strips.
- Mash It Up: For avocado, you can either slice it or mash it up with a fork for a creamier texture.
For Others
- Cook If Needed: If you’re using shrimp or other cooked ingredients, prepare them in advance.
- Mix It Up: If you’re using sauces or spreads like spicy mayo or cream cheese, have them ready in a small bowl.
Tips for Filling Selection
- Balance is Key: Try to balance flavors and textures. A fatty fish pairs well with a crunchy vegetable.
- Less is More: Don’t overstuff your roll; it will make it harder to roll and may overpower the flavors.
- Color Coordination: Think about the visual appeal. A mix of colors can make your sushi roll more appetizing.
The Art of Rolling: How to Make Sushi Rolls
So, you’ve got your perfect sushi rice and your mouth-watering fillings ready to go. Now comes the pièce de résistance—the art of rolling your sushi. It might seem intimidating at first, but trust me, with a little practice, you’ll be rolling sushi like a pro in no time. Let’s break down the steps to make sure your sushi rolls are not just delicious but also visually stunning.
Tools You’ll Need
- Bamboo sushi rolling mat
- Plastic wrap
- Sharp knife
- A bowl of water (for wetting your fingers)
Step-by-Step Guide to Rolling Sushi
1. Prepare the Mat
Place a sheet of plastic wrap over your bamboo rolling mat. This prevents the rice from sticking to the mat and makes for easier cleanup.
2. Lay Down the Nori
Place a sheet of nori (seaweed) on the plastic wrap, shiny side down. Make sure it aligns with the edge of the mat closest to you.
3. Spread the Rice
Wet your fingers to prevent the rice from sticking to them. Gently spread an even layer of sushi rice over the nori, leaving about half an inch of space at the top edge. Don’t press too hard; you want the rice to be fluffy.
4. Add the Fillings
Place your chosen fillings horizontally across the center of the rice. Remember, less is more. Overstuffing will make the roll difficult to close.
5. Time to Roll
Lift the edge of the mat closest to you and start rolling the sushi away from you while gently pressing it into a cylinder shape. Use the mat to help you but make sure it doesn’t get rolled into the sushi.
6. Seal the Deal
When you reach the edge of the nori, wet it with a little water to help it stick and create a seal. Finish rolling, then give it one last gentle press to make sure it’s tightly sealed.
7. The Final Cut
Using a sharp knife moistened with a little water, cut the roll into bite-sized pieces. Clean the knife between cuts to ensure clean, smooth edges.
8. Presentation Matters
Arrange the slices on a plate, and there you have it—your homemade sushi roll is ready to be devoured!
Pro Tips
- Cutting Technique: Use a gentle sawing motion when cutting to avoid squishing the roll.
- Roll Tight, But Not Too Tight: You want the roll to hold together but not so tight that the fillings get squeezed out.
Different Types of Fillings: Conventional and Unconventional
When it comes to sushi fillings, there’s a whole world of flavors and textures to explore. While traditional fillings like fresh fish and vegetables are always a hit, why not venture into the unconventional territory for a unique sushi experience? Let’s dive into the different types of fillings you can use to elevate your sushi game.
Conventional Fillings
Fresh Fish
- Tuna: A classic choice, offering a rich, meaty flavor.
- Salmon: Known for its soft, fatty texture that melts in your mouth.
- Yellowtail: Light and delicate, perfect for those who prefer a milder taste.
Vegetables
- Cucumber: Adds a refreshing crunch to your roll.
- Avocado: Its creamy texture complements almost any other filling.
- Carrot: For a pop of color and a sweet, crunchy bite.
Seafood Alternatives
- Shrimp: Either cooked or raw, it’s a popular choice.
- Crab Meat: Real or imitation, it adds a sweet, oceanic flavor.
- Eel: Often grilled and glazed with a sweet sauce.
Unconventional Fillings
Fruits
- Mango: Adds a tropical sweetness that pairs well with spicy or salty fillings.
- Strawberries: For a surprising burst of tartness and color.
- Pineapple: Gives your roll a Hawaiian twist.
Meats
- Chicken Teriyaki: Cooked and glazed, it’s a hearty option.
- Bacon: For a smoky, crunchy element. Yes, bacon sushi is a thing!
Fusion Flavors
- Jalapeño: For those who like it hot.
- Cream Cheese: Think of it as a sushi bagel roll.
- Peanut Butter: Sounds crazy, but it works, especially with fruits like banana.
Vegan Options
- Tofu: Marinated or fried, it’s a great protein substitute.
- Tempeh: Offers a nutty flavor and meaty texture.
- Pickled Vegetables: For a tangy, crunchy element.